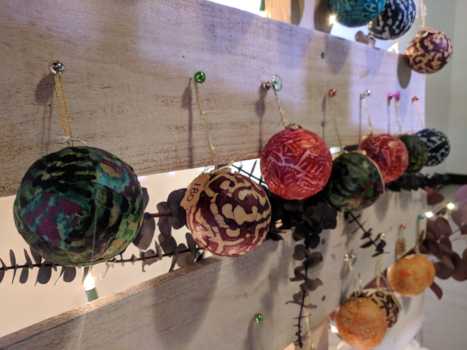
The Canopy students have had a blast the last two Christmases making ornaments for their sponsors out of African material and Modpodge.
This year we took it to a new level when members of Parish Anglican church helped us make over 200 of these ornaments to help raise funds for the new Canopy Life campus. We thought you might enjoy learning how it’s made so you can make some at home! Here’s your step by step tutorial.
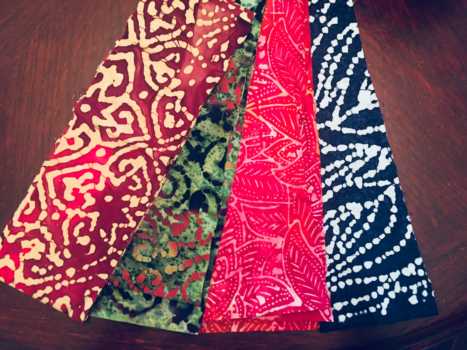
Step One: Pick out some fun fabrics. 1 inch will make 1 ornament (so a half of a yard will make 18 ornaments, a full yard will make 36 ornaments, etc)
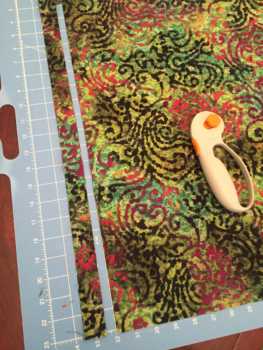
Step Two: Cut material into 1 inch strips.
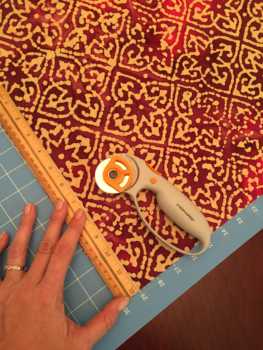
Note: The width of the ruler is perfect and will create a steady line if you’re using a rolling cutter.
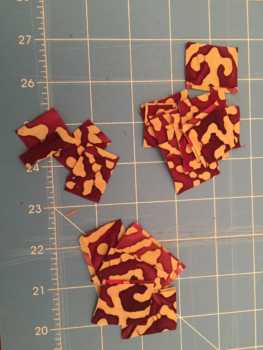
Step Three: Cut the strips into squares of 1-2 inches each. The variety in size will help you. You’ll end up with 1×1 inch squares or 1×2 inch rectangles.
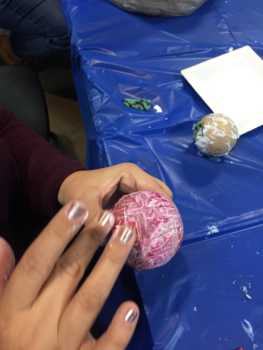
Step Four: Dab a nice bit of Modpodge onto the ornament, using the same sticky finger, pick up one square of material and place it on the Modpodge. Re-dab your finger into the modpodge and cover, completely soaking the piece of material. Once it is completely saturated and smoothed against the cardboard ornament, pick up another piece of material and seal it in criss-cross angles until the entire ornament is covered.
*Note: As you go, be sure to avoid leaving any gaps between the squares of material. You can layer the squares as much as you want, the more randomized the direction the better, but you don’t want to leave gaps. Using latex gloves can help.
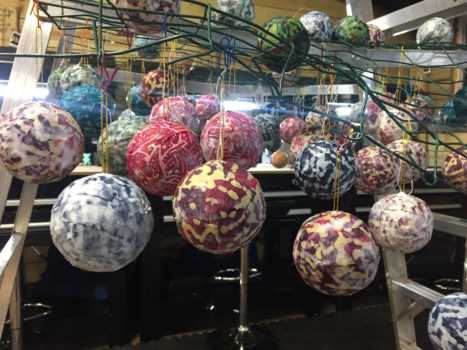
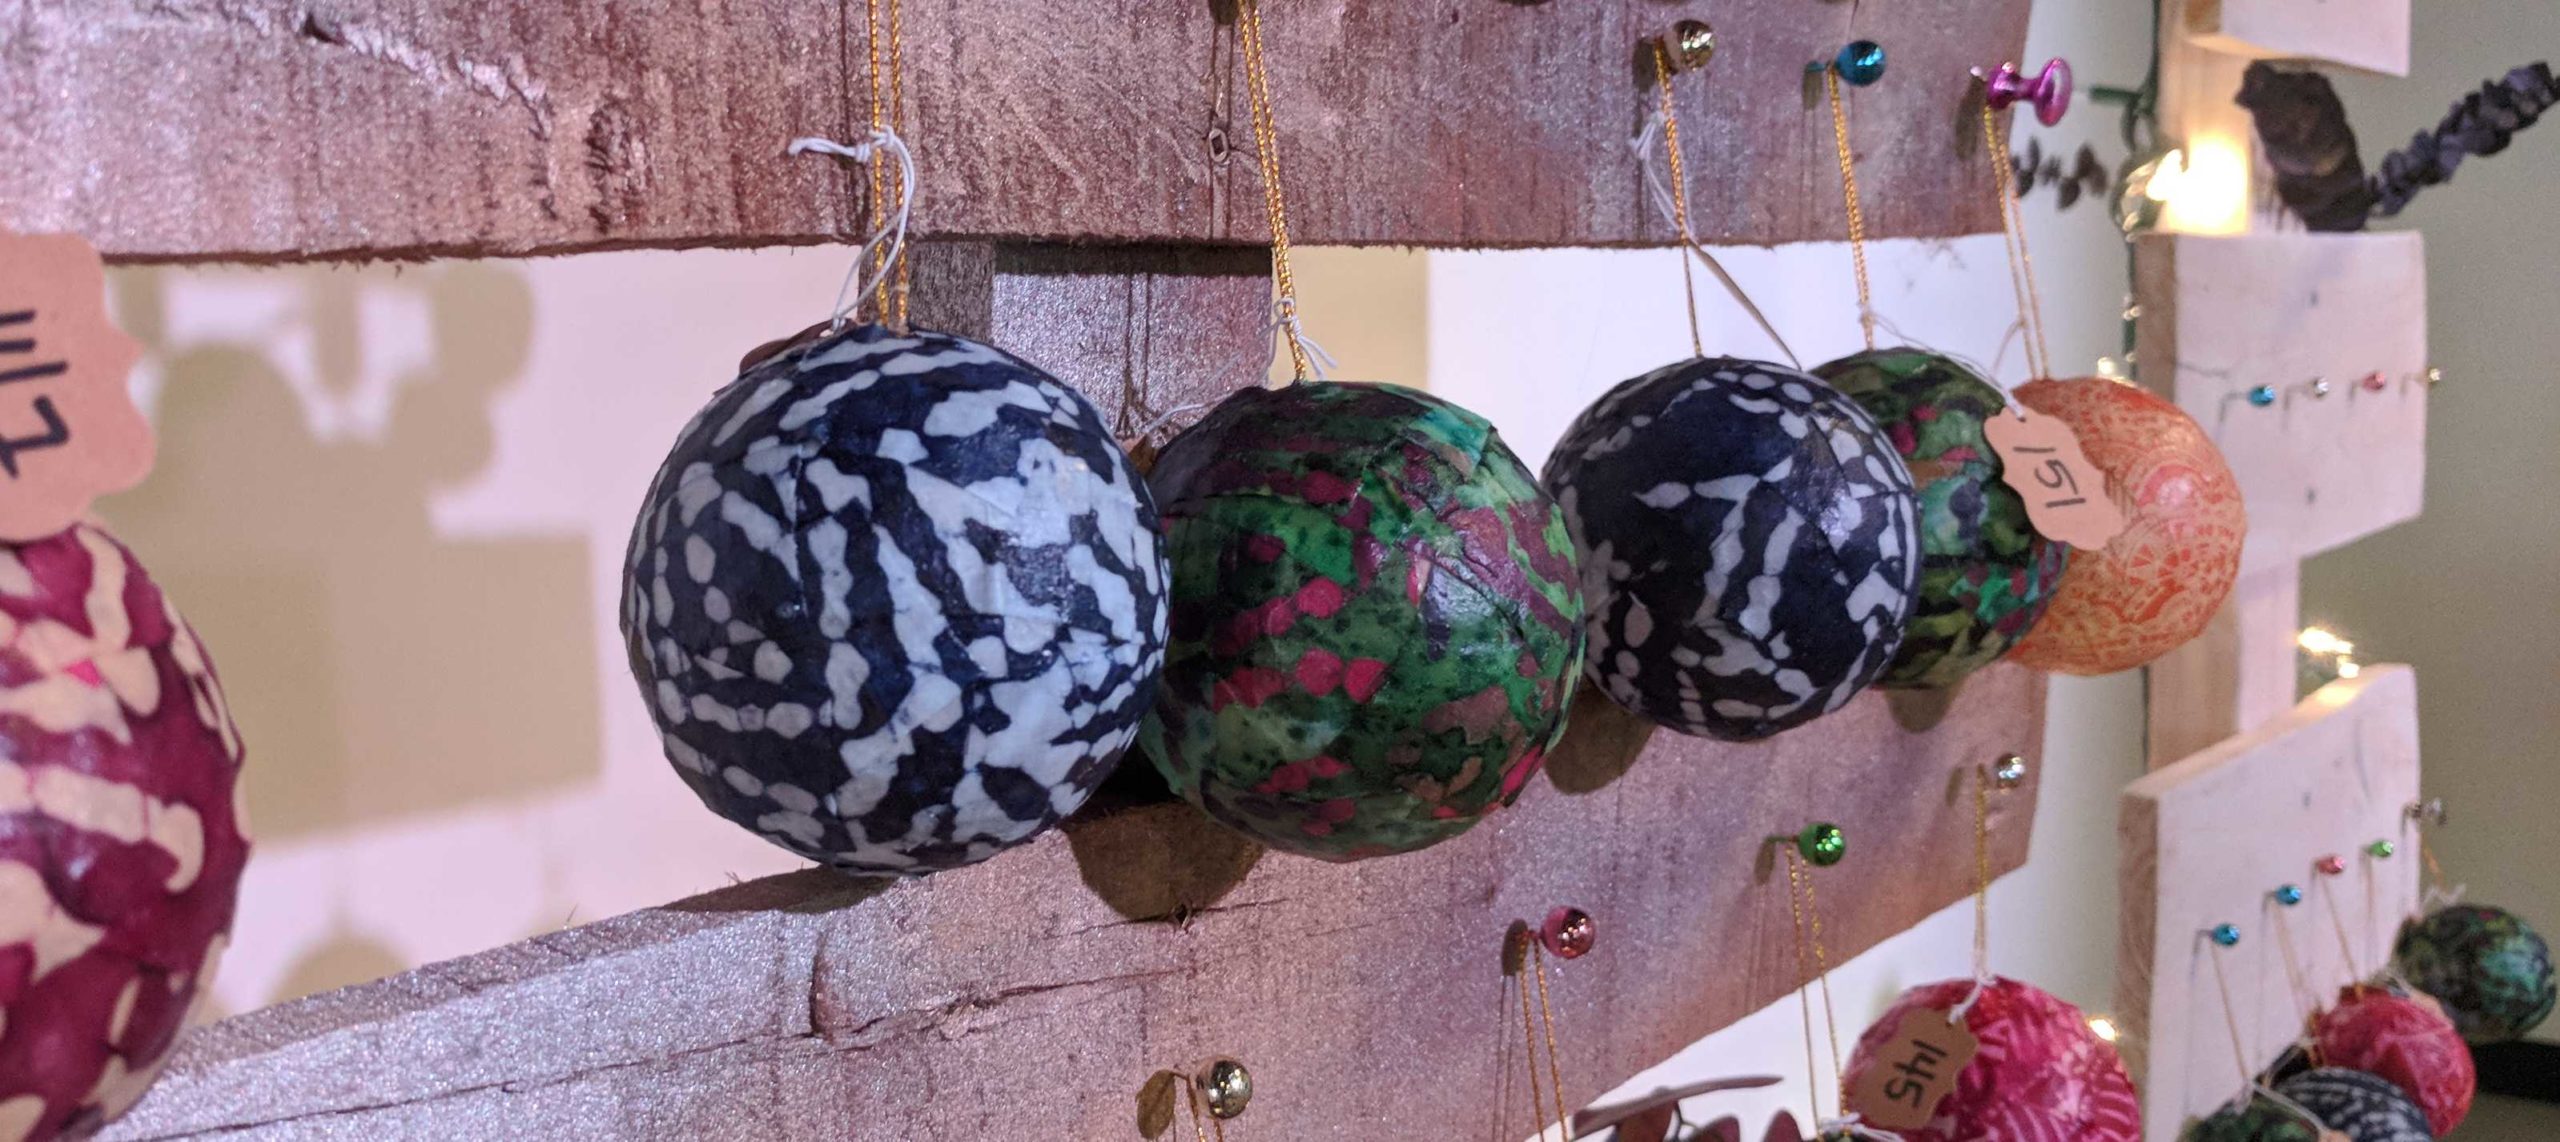
Step five: using paperclips, find a good place to hang your ornament to dry. Chicken wire or mesh is especially good for this.
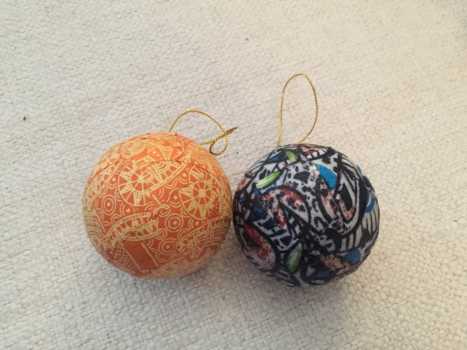
Step Six: Give the Modpodge at least a full day to dry, maybe longer. Once it is dry, the color of your materials will come shining through.